Table of Contents
Easter is just around the corner, and what's an Easter celebration without beautifully decorated eggs? Forget those plain, store-bought dyes; we're about to embark on a creative journey to craft the best decorated Easter eggs you've ever seen. This isn't your grandma's egg decorating guide. We're talking about transforming ordinary eggs into mini masterpieces using a mix of simple techniques, unexpected materials, and a whole lot of imagination. Whether you're a seasoned crafter or a complete beginner, this guide has got you covered. We will explore simple yet stunning designs, creative techniques that will elevate your eggs to the next level, and introduce you to unique materials you never thought of using. Get ready to ditch the boring and embrace the extraordinary because your Easter eggs are about to become the talk of the town. It's time to unlock your inner artist and make this Easter egg hunt one to remember. Let's get cracking!
Simple Yet Stunning Easter Egg Decorating Ideas
Simple Yet Stunning Easter Egg Decorating Ideas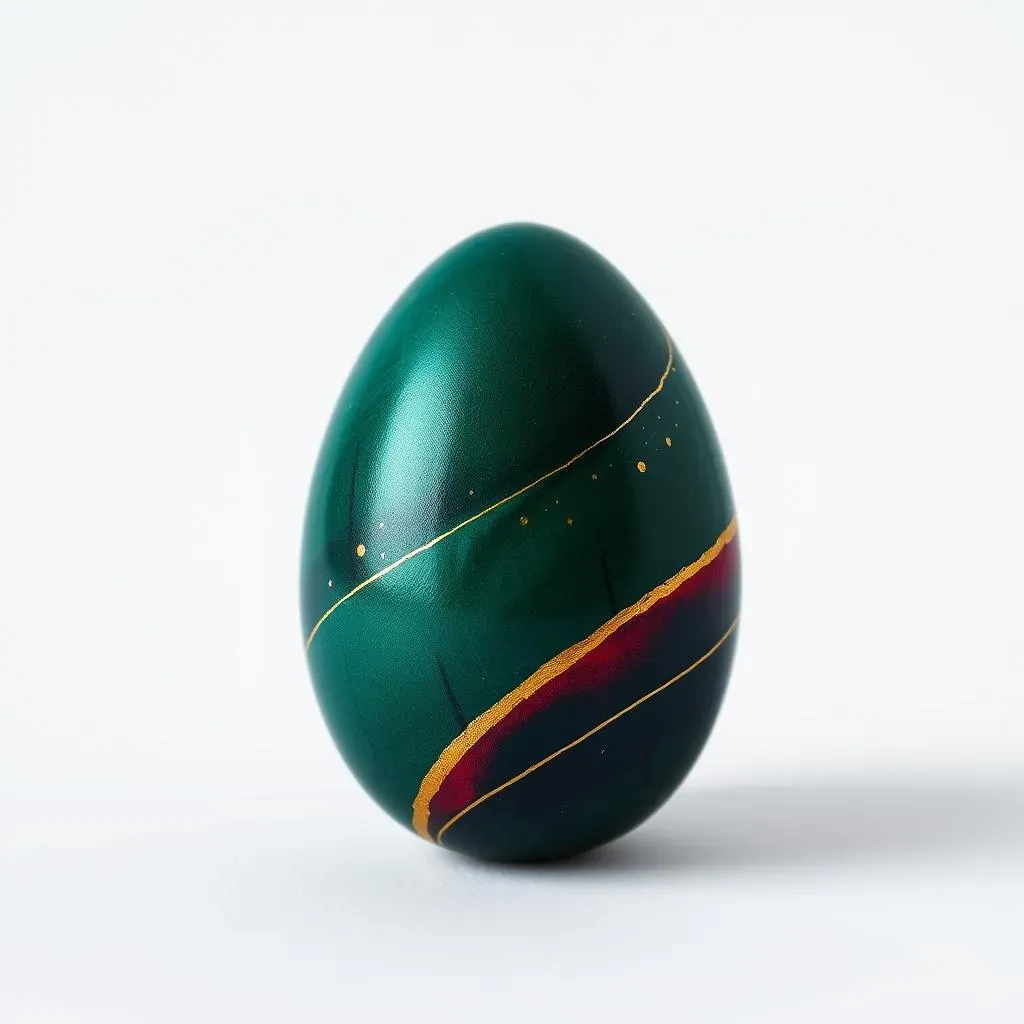
Minimalist Magic
Let's start with the basics, shall we? Sometimes, less is truly more. We're not talking about boring, plain eggs, but rather about embracing the beauty of simplicity. Think solid colors, but with a twist. Instead of the usual pastel shades, why not try deep jewel tones like emerald green, sapphire blue, or ruby red? These colors alone can make your eggs look incredibly sophisticated. Another idea is to use a single metallic paint, like gold or silver, for an instant touch of elegance. It's about making a statement without all the fuss. And hey, don't underestimate the power of a good white egg; sometimes, pure, unadulterated white is all you need for a chic, modern look.
And for those of you who are feeling a bit more adventurous, try a single stripe or a few dots. It's amazing how a simple graphic can transform an egg. The key here is clean lines and a thoughtful approach. It's about making each stroke or dot count. Remember, the goal is to achieve a look that's both simple and striking. I've seen some people use a thin paintbrush and create the most amazing patterns with just a few lines. Trust me, it's easier than it looks.
Nature-Inspired Elegance
Now, let's bring the outdoors in! Nature offers a treasure trove of inspiration for simple yet stunning egg designs. Have you ever thought about using real leaves? You can actually press small leaves onto your eggs before dyeing them. The leaf will act as a resist, leaving behind a beautiful, natural imprint. I did this with some fern leaves last year, and they turned out absolutely gorgeous. It's like a little piece of nature is captured on the egg. Another fun idea is to use flower petals. You can gently press them onto the surface of a wet, dyed egg, and they will create a delicate, textured effect. It's like turning your eggs into tiny canvases for nature's art.
Also, consider using natural dyes. Things like beet juice for pink, turmeric for yellow, or red cabbage for blue can give your eggs a beautiful, earthy tone. It's not only eco-friendly but also results in colors that are softer and more nuanced than what you get from store-bought dyes. Plus, it's a fun way to experiment with what you have in your kitchen. One year, my daughter and I even used onion skins to dye eggs a beautiful golden brown. It's amazing what you can create with things you would normally throw away!
Technique | Materials | Result |
|---|---|---|
Leaf Resist | Small leaves, dye | Natural leaf imprint |
Flower Petal Texture | Flower petals, wet dye | Delicate, textured effect |
Natural Dyes | Beet juice, turmeric, etc. | Soft, earthy tones |
Pattern Play
If you're feeling a little more adventurous, but still want to keep things simple, let's talk patterns. We're not talking about complex, intricate designs here, but rather about using simple patterns to create a big impact. Think stripes, polka dots, chevrons, or even simple geometric shapes. The key is to choose a pattern that you love and that you can easily replicate. You can use tape to create stripes or chevrons, or you can use a dotting tool for polka dots. It's about being precise and consistent with your pattern. I remember one year I used washi tape to create all kinds of different stripe patterns; it was so easy and the result was amazing.
Another cool idea is to use rubber bands. Wrap them around your eggs in different ways before dyeing them, and you'll get these cool, tie-dye-like patterns. It's like a surprise every time you remove the rubber bands. And don't be afraid to play with colors. You can use different colors for your patterns, or you can stick to a monochromatic color scheme for a more modern look. It's all about having fun and experimenting with what you have. Remember, the goal is to create eggs that are both simple and visually interesting. So, go ahead, play with patterns and see what you come up with!
Creative Techniques for the Best Decorated Easter Eggs
Creative Techniques for the Best Decorated Easter Eggs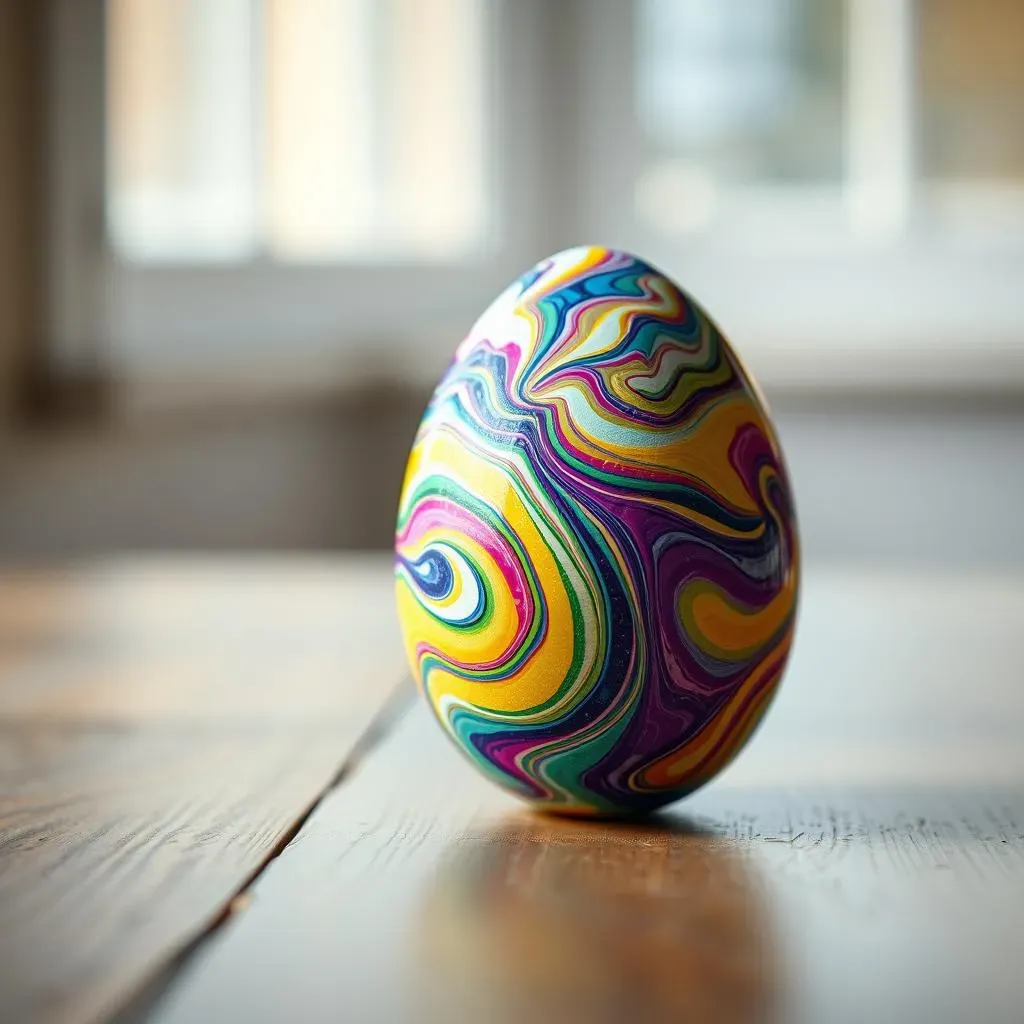
Marbling Magic
Okay, now we're getting into some seriously cool territory. Marbling isn't just for paper; it works wonders on eggs too! It's like creating mini abstract art pieces. The best part? It's super easy and produces incredibly unique results every single time. You can use shaving cream or even nail polish for this technique. With shaving cream, you just swirl some food coloring into a tray of shaving cream, roll your egg around, and voila! You've got a marbled egg. The colors blend and swirl in the most amazing ways. I remember the first time I tried this; I was completely mesmerized by the patterns that emerged. It's like watching a tiny galaxy form on an egg.
And for those who want a bit more vibrancy, try the nail polish method. Just drop a few drops of nail polish into a bowl of water, swirl it around, and then dip your egg in. It creates a more intense, almost psychedelic effect. Just make sure to work fast because nail polish dries quickly. I'd suggest using gloves for this one, unless you want your fingers to be rainbow-colored for a few days. I did that once, and let's just say it was a colorful experience. But hey, it's all part of the fun of creating the best decorated Easter eggs, right?
Decoupage Dreams
Let's talk decoupage. It's like giving your eggs a fancy little makeover using pretty paper and glue. You can use anything from old magazines, scrapbook paper, or even tissue paper. The idea is to cut out shapes or patterns that you like and then glue them onto your eggs. It's like creating a collage, but on a tiny, curved surface. I've seen people use floral patterns, vintage maps, and even comic book strips. The possibilities are endless. It's such a fun way to add a personal touch to your eggs. I remember my niece using pages from her favorite storybook to decorate her eggs last year, and they were absolutely adorable.
And don't worry if you're not a master paper cutter. You can use small scissors or even a craft knife to create intricate shapes. And the best part is that it doesn't have to be perfect. The charm of decoupage is in its imperfections. It's all about layering and playing with different textures and colors. Once you've glued your paper onto the eggs, you can seal them with a layer of mod podge to protect them and give them a nice, glossy finish. It's like giving your eggs a little protective coat of armor. So, go ahead, gather your favorite papers and let your imagination run wild. You might be surprised at what you can create.
Technique | Materials | Result |
|---|---|---|
Marbling | Shaving cream or nail polish, food coloring | Unique, swirled patterns |
Decoupage | Paper, glue, mod podge | Layered, textured designs |
Unique Materials for Unforgettable Easter Egg Designs
Unique Materials for Unforgettable Easter Egg Designs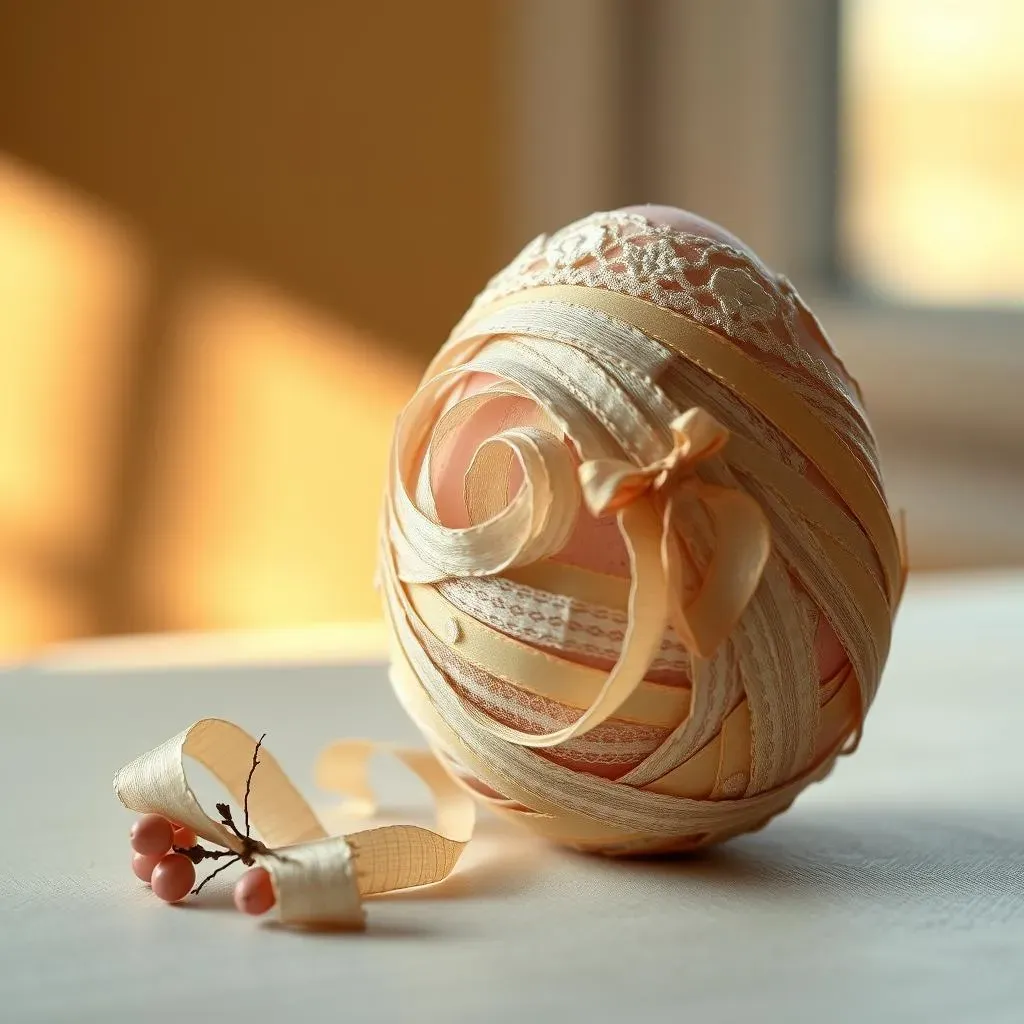
Ribbon and Lace Romance
Okay, so we've covered paint, dyes, and paper, but let's get a little more unconventional, shall we? Have you ever considered using ribbon and lace to decorate eggs? It adds a touch of elegance and texture that you just can't achieve with paint alone. Think delicate ribbons wrapped around the eggs in a spiral pattern, or dainty pieces of lace carefully glued on to create a vintage look. It's like dressing your eggs up for a fancy party. I remember seeing some eggs decorated with velvet ribbons, and they looked absolutely luxurious. It's amazing how something as simple as a ribbon can completely transform an egg.
You can use all sorts of ribbons, from satin to grosgrain, and lace in different patterns and widths. It's all about experimenting and finding what works best for you. You can also combine ribbons and lace for a more layered effect. I've even seen people use tiny bows and rosettes to add an extra touch of whimsy. The key is to use a good craft glue that will hold the ribbon and lace in place without making it look messy. And don't be afraid to mix and match colors and textures to create a truly unique look. It's like creating little wearable art pieces, but for your Easter eggs. So, go ahead, raid your craft drawer and let your imagination run wild!
Texture with Twine and String
Now, let's talk about adding some serious texture to our Easter eggs. Forget smooth surfaces; we're going for dimension! Twine and string are your best friends here. You can wrap them around your eggs in all sorts of patterns to create a rustic, earthy feel. Think about wrapping twine tightly around the egg for a more structured look, or loosely for a more free-spirited vibe. You can even use different thicknesses of twine or string to create different textures. I saw someone use colorful embroidery floss to wrap their eggs, and they looked like tiny, vibrant cocoons. It's amazing how a simple material can add so much character.
And don't limit yourself to just plain twine or string. You can also use jute, yarn, or even hemp cord. You can dye the twine or string before you wrap it around the eggs for a pop of color, or you can leave it natural for a more rustic look. You can also combine twine and string with other materials, like beads or buttons, to create even more interesting designs. The key is to play with different textures and colors to see what you come up with. It's like creating tiny, tactile sculptures, but on an egg. So, go ahead, grab some twine or string and let's get wrapping!
Material | Technique | Result |
|---|---|---|
Ribbon and Lace | Wrapping and gluing | Elegant, textured look |
Twine and String | Wrapping | Rustic, dimensional effect |
Wrapping Up Your Best Decorated Easter Eggs
So, there you have it – a treasure trove of ideas to create the best decorated Easter eggs. From simple paint jobs to elaborate designs using unconventional materials, the possibilities are as endless as your imagination. Remember, the goal isn't just to make pretty eggs; it's about having fun and expressing your creativity. Don't be afraid to experiment, mix and match techniques, and most importantly, involve your family and friends in the process. Each egg you decorate is a testament to your unique style and the joy of the Easter season. Now go forth, gather your supplies, and let your creativity shine. Happy decorating, and may your Easter be filled with colorful eggs and even more colorful memories!