Table of Contents
Easter is just around the corner, and you know what that means: it's time to get crafty! Forget those plain, boring plastic eggs; we're here to show you how to transform them into mini masterpieces. This article is your ultimate guide to decorate plastic easter eggs with style and flair. We'll explore three fantastic ideas that are easy enough for kids but cool enough for adults. First, we'll dive into creating simple yet stunning patterned eggs using markers and paint. Next, prepare to be charmed as we show you how to turn those plain plastic ovals into adorable, fluffy chicks. Finally, we'll add some sparkle with a tutorial on creating glamorous golden eggs that'll make your Easter basket shine. So, grab your supplies, put on your creative hat, and let's get started on making this Easter the most egg-cellent one yet!
Patterned Plastic Eggs: A Simple Start
Patterned Plastic Eggs: A Simple Start
Getting Started with Patterns
Okay, so you're staring at a pile of plain plastic eggs, right? Don't stress! The beauty of patterned eggs is that they're super easy and totally customizable. Forget needing fancy art skills; we're talking basic shapes and lines here. Think polka dots, stripes, zigzags, swirls – anything goes. Grab some permanent markers, acrylic paints, or even those colorful washi tapes you've got lying around. The key is to just let loose and have fun with it. No pressure to be perfect; imperfect patterns can look really cool too. This is the perfect starting point if you want something simple and satisfying.
I remember one year when I had a bunch of kids over for an Easter egg decorating party. Some of them were super into making precise patterns, while others just scribbled all over their eggs, and guess what? They all looked awesome! It's about the process and the creativity, not about achieving some flawless result. The best part? You can make each egg completely unique, which makes them extra special. So, don't overthink it. Just pick a color, choose a design, and go for it. Let your inner artist out, even if that inner artist is just really good at making dots.
Material | Tools | Tips |
|---|---|---|
Plastic Eggs | Permanent Markers | Start with light colors |
Acrylic Paint | Paint Brushes | Use thin coats |
Washi Tape | Scissors | Cut into shapes |
Easy Pattern Ideas
Now, let's talk specifics. If you're feeling a bit stuck, here are some pattern ideas to get those creative juices flowing. Polka dots are always a winner, and they're so simple to do. Just dip the end of a brush or a cotton swab into your paint and dot away. Stripes are another classic; you can do straight, diagonal, or even wavy lines. Try alternating colors for a bolder look. For something a little more intricate, try drawing simple geometric shapes like triangles, squares, or diamonds. You can even use a ruler to help keep your lines straight. Or, if you're feeling fancy, use different colors to create a rainbow effect. Don't forget about abstract patterns; just let your marker or brush wander around the egg and see what happens.
One time, I tried making patterns using rubber bands. I wrapped them around the eggs in different ways and then painted over them. When I removed the rubber bands, it left behind some really cool negative space designs. It's like magic! And if you want to get extra creative, you can combine different patterns on the same egg. There's really no limit to what you can do. This is your chance to experiment and try new things. So, grab your supplies and get ready to make some seriously awesome patterned eggs!
- Polka Dots: Classic and easy to make with paint or markers.
- Stripes: Use tape to create clean lines with different colors.
- Zigzags: Fun and playful, perfect for a bold look.
- Geometric Shapes: Triangles, squares, and diamonds for a more structured pattern.
- Abstract Designs: Let your creativity flow with random lines and shapes.
Transforming Eggs into Adorable Chicks
Transforming Eggs into Adorable Chicks
Making Your Own Egg Chicks
Alright, so patterned eggs are cool, but let's crank up the cuteness factor. We're not just decorating eggs now; we're giving them a complete makeover into adorable little chicks. Imagine those plastic eggs sprouting fluffy feathers and tiny beaks – pretty cute, right? For this project, you'll need some yellow paint, felt (yellow and orange), googly eyes, and some glue. Oh, and maybe some cotton balls or feathers if you want to get extra fluffy. The process is pretty simple: paint your egg yellow, add a felt beak and some googly eyes, and you've got yourself a chick! It's like a mini-makeover show for your Easter eggs.
I remember the first time I made these, I was so excited about how they turned out! I even gave them little feathery tufts on their heads. They looked like they had just hatched. And it’s so fun to see the different personalities each chick has just based on how you place the eyes or the shape of the beak. It’s like they are all little individual characters, it's wild. You can even get the kids involved, letting them choose the colors and add their own touches. It's a simple project that always brings a smile, and it’s perfect for adding a bit of charm to your Easter decorations.
Material | Tools | Tips |
|---|---|---|
Plastic Eggs | Yellow Paint | Use multiple thin coats |
Felt (Yellow & Orange) | Glue | Cut out small triangles for beaks |
Googly Eyes | Scissors | Use different sizes for extra charm |
Cotton Balls or Feathers | Optional | Add on top of head |
Creative Chick Touches
Now that you have the basics down, let’s get fancy. You can use different shades of yellow to give your chicks some dimension. Try adding a bit of white paint to the yellow to create highlights, or a touch of orange to create shadows. And what about those beaks? You can cut them into different shapes – some can be pointy, others can be rounded. And don't be afraid to get creative with the eyes. Use different sizes of googly eyes, or even draw them on with a marker for a more unique look. Remember, the goal is to make each chick special and unique. You can also add little details like using tiny black marker dots for the eyes instead of googly eyes for a different feel.
For an extra touch, consider adding little wings made from felt or feathers. Just cut out small wing shapes and glue them to the sides of your chick. You can also use cotton balls or small pieces of feather glued on top of the head for a fluffy, newly hatched look. And if you’re feeling super creative, you can even make a tiny hat for your chick using some colorful paper. The possibilities are endless. This is where you can really let your imagination run wild and see what kind of adorable little characters you can create. Get creative and enjoy the process!
- Different Shades: Use various yellows for highlights and shadows.
- Unique Beaks: Cut felt into different shapes for varied beaks.
- Eye Options: Use different sizes of googly eyes or draw them on.
- Felt Wings: Add small felt wings for extra detail.
- Fluffy Tops: Use cotton balls or feathers for a newly hatched look.
Golden Easter Eggs: Adding a Touch of Glamour
Golden Easter Eggs: Adding a Touch of Glamour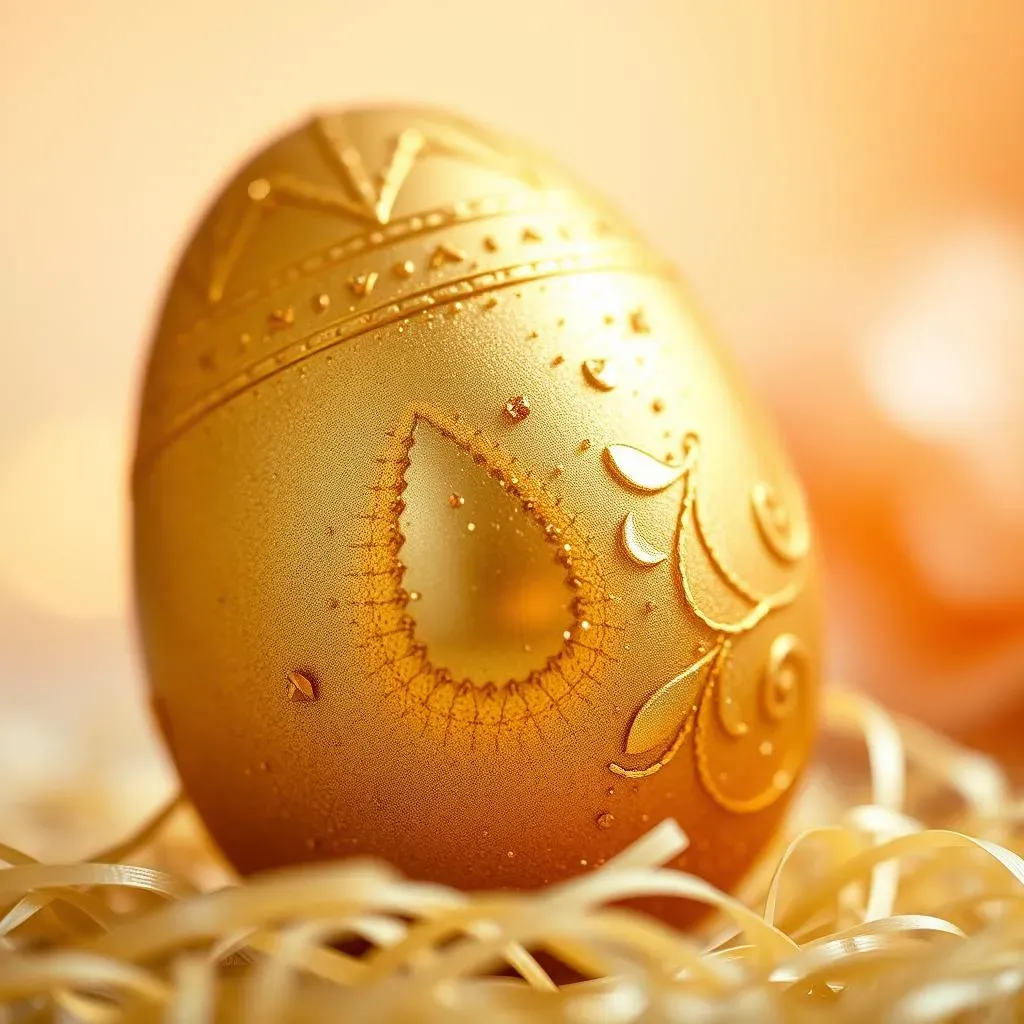
Getting the Golden Look
Okay, so we've played with patterns and made cute chicks, but now it's time to bring on the bling! We're talking about transforming those humble plastic eggs into shimmering golden treasures. For this, you'll need some gold spray paint or gold acrylic paint and a brush. And for that extra touch of elegance, consider adding some gold glitter, gold leaf, or even some small rhinestones. The goal here is to make your eggs look like they've been dipped in pure gold. It's all about creating that luxurious and eye-catching effect. Think of it as giving your Easter eggs a serious upgrade from casual to red-carpet ready.
I remember one year, I decided to go all-out with the gold theme and even used gold food-safe spray to make golden chocolate eggs. They were almost too pretty to eat, almost! The trick is to apply the paint in thin, even layers to avoid drips or clumps. And if you're using glitter, make sure to apply it while the paint is still wet, so it sticks properly. This is your chance to make your Easter eggs look like they belong in a royal palace. It's a simple process, but the result is just so incredibly glamorous. Get ready to dazzle!
Material | Tools | Tips |
|---|---|---|
Plastic Eggs | Gold Spray Paint | Apply in thin layers |
Gold Acrylic Paint | Paint Brushes | Use a soft brush for smooth finish |
Gold Glitter | Glue (optional) | Apply while paint is wet |
Gold Leaf | Adhesive (optional) | Apply carefully for a gilded look |
Adding Extra Sparkle
Alright, you've got your golden base, but why stop there? Let’s talk about how to add that extra sparkle that'll take your golden eggs from fabulous to absolutely breathtaking. If you're using glitter, try mixing different sizes and shades of gold for a more dynamic effect. And if you're feeling adventurous, consider using gold leaf. It’s a little trickier to work with, but the end result is seriously stunning. Just apply a thin layer of adhesive to your egg and then gently press the gold leaf on top. Then you can use a soft brush to remove any excess. It’s like giving your egg a golden tattoo.
I once tried adding tiny rhinestones to my golden eggs, and they looked like they were covered in precious jewels. You can use craft glue to attach them in different patterns or just randomly for a scattered effect. Another tip is to use a gold metallic pen to draw some intricate designs on your eggs after they've dried. It's a great way to add some personal touch and make them even more unique. So, go ahead and unleash your inner magpie; these golden eggs are your canvas for adding all the sparkle and shine you can imagine. Get ready to make your Easter eggs the most glamorous ones around!
- Glitter Mix: Use different sizes and shades of gold for a dynamic look.
- Gold Leaf: Apply carefully for a stunning, gilded effect.
- Rhinestones: Add tiny jewels for extra sparkle and glamour.
- Metallic Pens: Draw intricate patterns for a personal touch.
Wrapping Up Your Egg-cellent Creations
So, there you have it! We've journeyed through three fantastic ways to decorate plastic Easter eggs, from simple patterns to fluffy chicks and dazzling gold. You've seen how easy it is to take those plain plastic eggs and turn them into something truly special. Whether you're crafting with kids or just embracing your inner artist, these ideas are sure to add a personal touch to your Easter celebrations. Don't be afraid to mix and match techniques or add your unique flair to each design. The most important thing is to have fun and enjoy the process of creating. Happy Easter crafting!