Table of Contents
Easter's just around the corner, and you know what that means – it's time to get cracking on some seriously awesome decorated easter eggs ideas! Forget those boring, single-color dyes; we're about to unleash a whole world of creativity. This isn't your grandma's egg-decorating guide. We're talking about 52 mind-blowing ideas that range from super-simple for the little ones to seriously impressive for the seasoned crafters. Whether you're into painting, gluing, or getting your hands dirty with natural dyes, there's something here for everyone. We'll start with easy peasy designs perfect for beginners, then move into some seriously cool painted techniques. After that, we'll get earthy with natural materials, and finally, we'll tackle the advanced techniques that will make your eggs the envy of the neighborhood. So, grab your eggs, gather your supplies, and let's make this Easter egg decorating unforgettable! Get ready to explore a kaleidoscope of decorated easter eggs ideas that will transform your Easter celebration into a vibrant display of art.
Simple Decorated Easter Eggs Ideas for Beginners
Simple Decorated Easter Eggs Ideas for Beginners
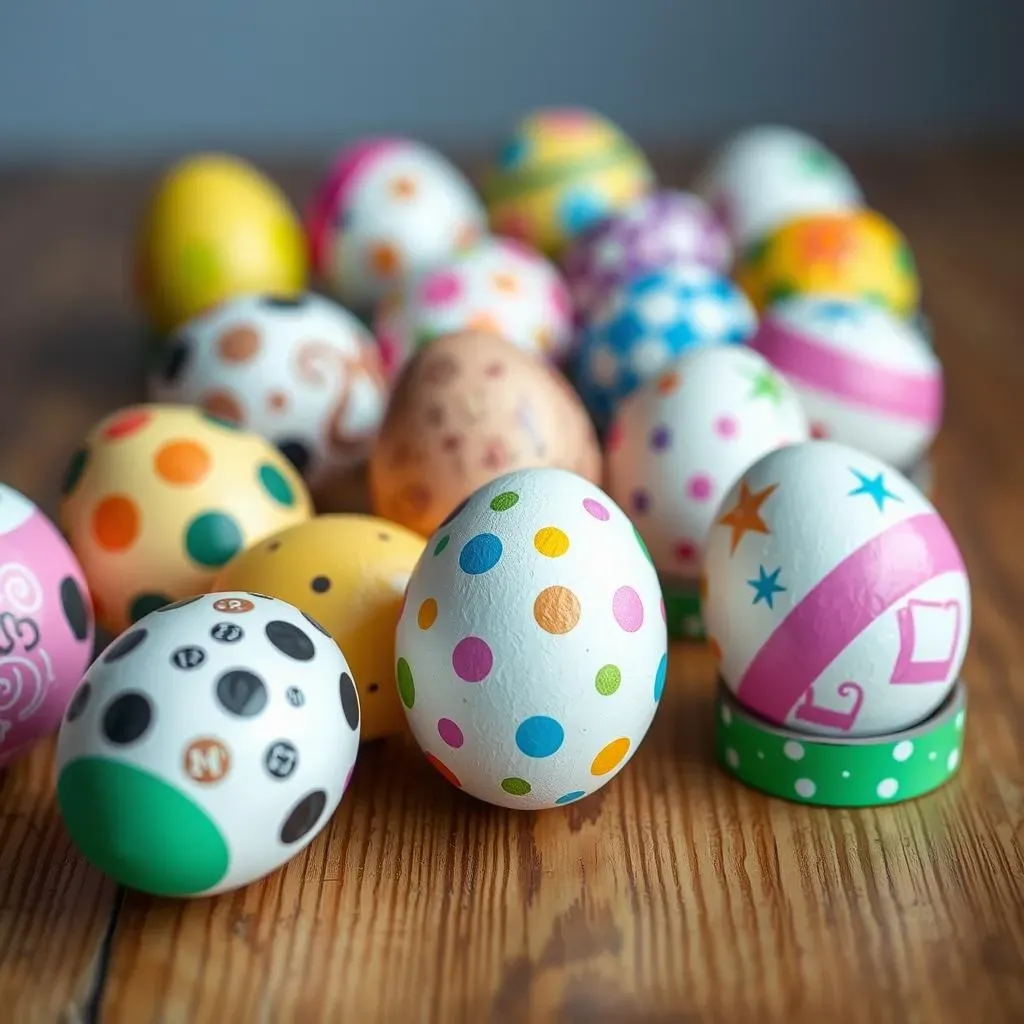
Alright, so you're new to the whole decorated easter eggs scene? No sweat! We're gonna start with the basics, the stuff that even a toddler could (mostly) handle. Think of it like learning to ride a bike – we're starting with training wheels. First up, stickers! Yep, those little sticky wonders can transform a plain egg into something pretty cool in seconds. Grab a sheet of your favorite designs – flowers, animals, maybe even some goofy faces – and just slap 'em on. It's fast, it's easy, and it's virtually mess-free. Next, we have the magic of markers. Permanent markers are your best friend here. You can draw simple patterns, doodles, or even write names. Don't worry about being perfect; the charm is in the imperfections! Finally, let's talk about washi tape. These colorful, patterned tapes are a game-changer. Just tear off strips and wrap them around the eggs in different ways. Stripes, zigzags, abstract designs – you name it, washi tape can do it. These methods are so simple that even if you're not a crafty person, you can still make some great looking eggs.
Method | Materials | Difficulty | Mess Level |
|---|---|---|---|
Stickers | Stickers, Eggs | Very Easy | Low |
Markers | Permanent markers, Eggs | Easy | Low |
Washi Tape | Washi tape, Eggs | Easy | Low |
Creative Painted Easter Eggs Ideas
Creative Painted Easter Eggs Ideas
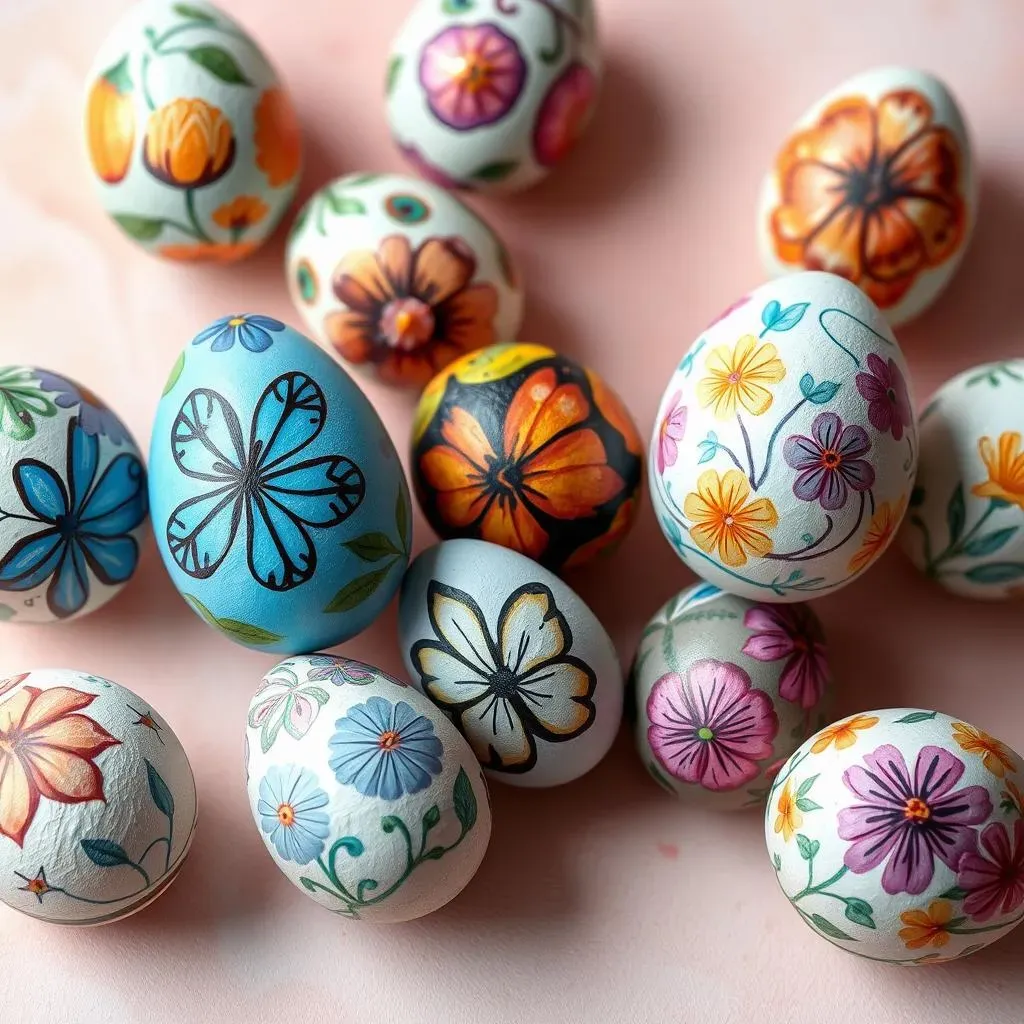
Okay, so you've mastered the basics, right? Now, let's get into the juicy stuff: painting! Forget those boring, solid colors. We're talking about transforming your eggs into tiny canvases of awesome. First up, let's talk about watercolor paint. It's not just for paper, you know! A light wash of watercolor can give your eggs a delicate, dreamy look. Think soft pastels, blended hues, and maybe even some floral designs. You can create a beautiful, almost ethereal effect. Then, we have acrylic paint, the workhorse of the craft world. It's bold, it's vibrant, and it sticks to just about anything. You can use a fine brush for intricate patterns, a sponge for a textured look, or even your fingers for some abstract art. Don't be afraid to experiment with different techniques, like dots, stripes, or even splatter painting. And for those who love a bit of sparkle, glitter paint is your best friend. Add a touch of shimmer to your eggs and make them shine like little gems. Painting opens up a whole new world of possibilities, so let your imagination run wild!
"The only limit to your creativity is your own imagination." - A wise person (probably).
And if you're feeling extra adventurous, try using different painting tools. Instead of a brush, grab a cotton swab for perfect dots. A toothbrush can create a cool splatter effect. And a sponge can give a nice textured look. You can also use masking tape to create clean lines and geometric patterns. Just stick the tape on your egg, paint over it, and then peel it off to reveal crisp, defined shapes. Remember, there's no right or wrong way to paint an egg. It's all about having fun and expressing your creativity. So, grab your paints, gather your tools, and let's make some egg-cellent artwork! Don't be afraid to mix colors, try new techniques, and most importantly, don't worry about making mistakes. Some of the most beautiful art comes from happy accidents.
Paint Type | Best For | Techniques |
|---|---|---|
Watercolor | Soft, dreamy looks | Washes, blending |
Acrylic | Bold, vibrant designs | Intricate patterns, textures |
Glitter Paint | Sparkling effects | Shimmering accents |
Unique Decorated Easter Eggs Ideas with Natural Materials
Unique Decorated Easter Eggs Ideas with Natural Materials
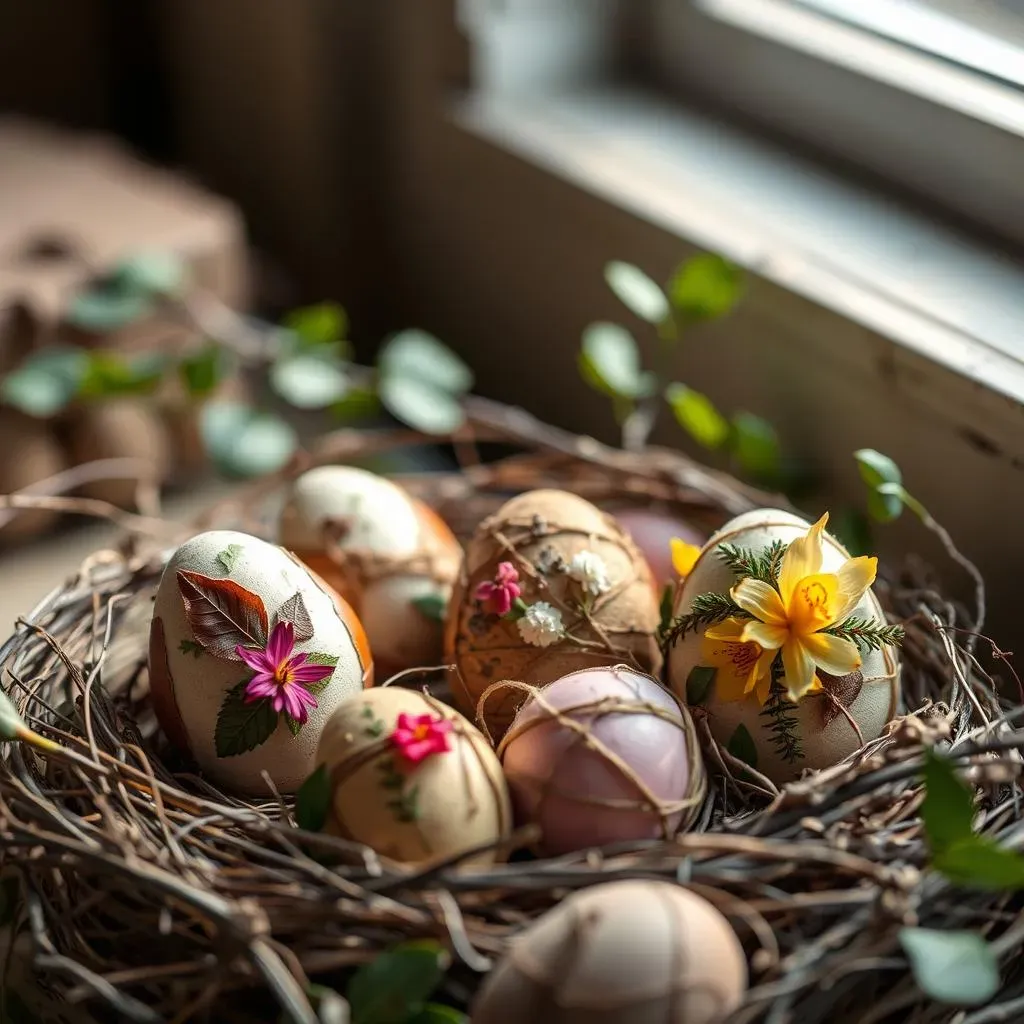
Alright, let's ditch the store-bought stuff for a minute and get back to nature! We're talking about unique decorated easter eggs ideas using all sorts of cool natural materials. It's like giving your eggs a little earthy makeover. First up, we've got leaves and flowers. Grab some pretty petals or interesting leaves from your backyard (or a nearby park, if you don't have a backyard – no judgment!). You can use Mod Podge or even just diluted white glue to stick them onto your eggs. It's like creating tiny botanical masterpieces. The best part? Each egg is totally unique. No two will ever look exactly the same.
Next, let's talk about natural dyes. Forget those artificial colors; we're going au naturel! You can use things like onion skins for a warm brown tone, beet juice for a gorgeous pink, or even turmeric for a vibrant yellow. It's like a science experiment and art project all rolled into one. Just boil your chosen dye ingredients with water and then soak your eggs. The longer you soak, the deeper the color. It's a slow process, but the results are so worth it. And you can even add patterns by wrapping your eggs with rubber bands or string before dyeing them. Then, there are things like twigs and twine. You can wrap them around your eggs for a rustic, textured look. It's like giving your eggs a little hug from nature. And don't forget about using natural fibers like raffia or jute to add some earthy accents.
Material | How to Use | Effect |
|---|---|---|
Leaves and Flowers | Glue onto egg surface | Botanical, unique patterns |
Onion Skins, Beets, Turmeric | Boil in water, soak eggs | Natural, earthy colors |
Twigs and Twine | Wrap around egg | Rustic, textured look |
"Nature is not a place to visit. It is home." - Gary Snyder
Advanced Decorated Easter Eggs Ideas and Techniques
Advanced Decorated Easter Eggs Ideas and Techniques
Decoupage Magic
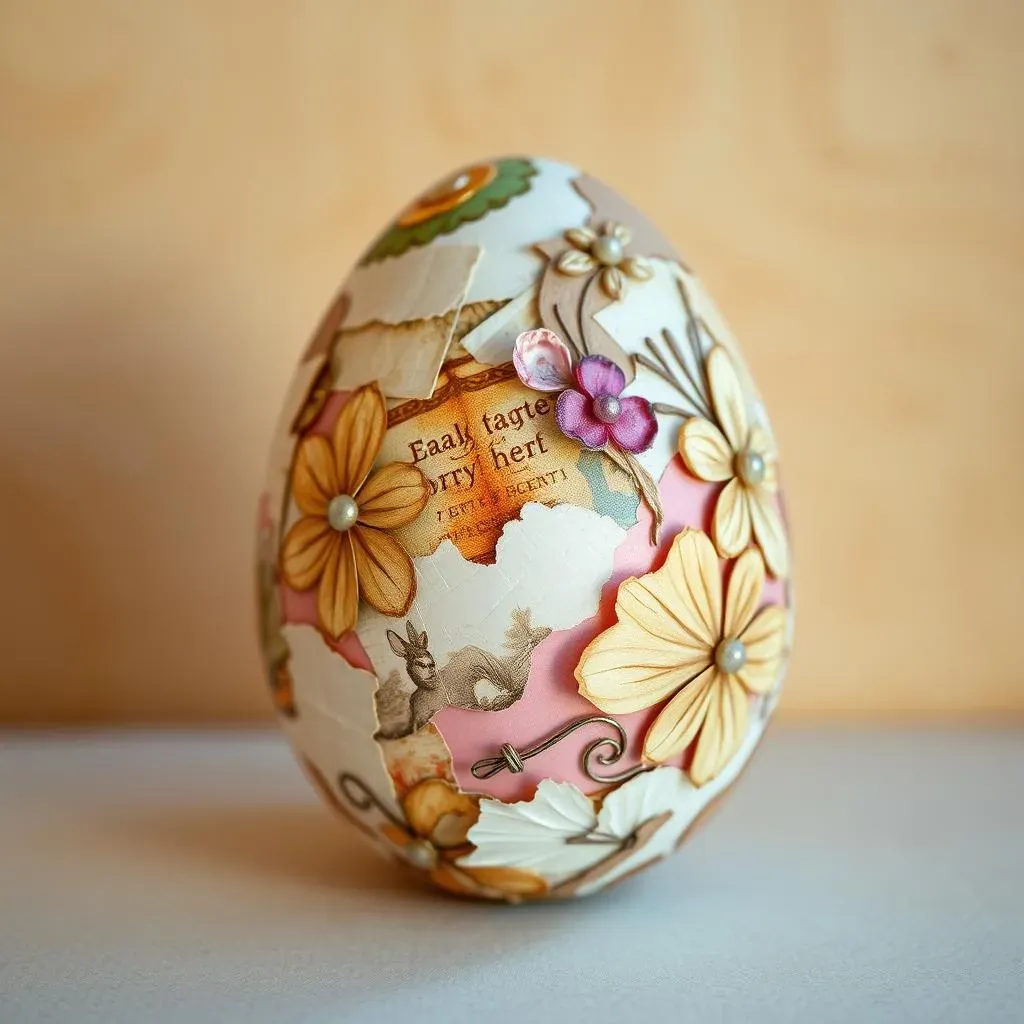
Alright, my fellow egg enthusiasts, let's kick things up a notch! We're moving into the realm of advanced techniques, where we transform ordinary eggs into extraordinary works of art. First up, we have decoupage. It's like giving your eggs a fancy makeover with paper. You can use napkins, tissue paper, or even magazine clippings – anything with a cool design. Just tear them into small pieces, apply some Mod Podge or diluted glue to the egg, and carefully stick them on. You can create intricate patterns, collages, or even tell a story with your designs. It’s a bit like creating a tiny mosaic on an egg. The trick is to smooth out any wrinkles or bubbles and let it dry completely before adding another layer. This is not a race; it's a marathon of artistic layering.
And for those who crave a touch of elegance, try adding some embellishments like tiny beads, sequins, or even lace. It's like turning your eggs into tiny, sparkly jewels. You can use a toothpick or a fine-tipped applicator to carefully place the embellishments. It might take some patience and a steady hand, but the result is absolutely worth it. You will have created something truly unique and special. This is where your creativity can really shine, so don't be afraid to experiment with different colors, textures, and designs. Remember, the more unique, the better!
Technique | Materials | Difficulty |
|---|---|---|
Decoupage | Paper, Mod Podge/glue, eggs | Medium |
Embellishments | Beads, sequins, lace, glue | Medium to Hard |
The Art of Marbling and Beyond
Now, let’s talk about marbling. Forget simple swirls; we're going for mesmerizing patterns that look like they belong in a galaxy far, far away. There are a few ways to marble your eggs. You can use nail polish, shaving cream, or even special marbling inks. The key is to create a swirl of colors on the surface of the liquid, then gently roll your egg through it. It's like magic, watching the colors transfer onto the egg, creating unique patterns every single time. Each egg will have its own personality, no two will be alike. And for those who want to take it to the next level, try adding metallic paints or powders to the mix. It creates a stunning, almost otherworldly effect.
Beyond marbling, we can explore stenciling. You can use store-bought stencils or even create your own with some cardstock and a craft knife. It's all about using a stencil to create precise patterns and designs. You can use paint, markers, or even glitter to fill in the stenciled areas. It's a great way to create complex designs and intricate patterns with ease. And finally, if you are feeling really fancy, try using edible gold leaf to add a touch of luxury to your eggs. It's delicate and requires some patience, but the result is absolutely breathtaking. These methods will transform your eggs into stunning pieces of art, sure to impress everyone.
"The details are not the details. They make the design." - Charles Eames
Technique | Materials | Tips |
|---|---|---|
Marbling | Nail polish, shaving cream, marbling inks | Swirl colors, gentle roll |
Stenciling | Stencils, paint, markers | Secure stencil, even application |
Edible Gold Leaf | Gold leaf, edible adhesive | Handle with care, delicate application |