Table of Contents
Forget those messy dye kits! This year, we're shaking things up with a super fun and surprisingly simple way of decorating easter eggs with sharpie markers. Yep, you heard right! We're ditching the dunking and embracing the vibrant world of permanent markers to create stunning tie-dye designs. Think swirling colors and unique patterns, all achieved with just a few household items. This isn't your grandma's egg decorating—unless your grandma is super cool, that is. We'll walk you through why sharpies are awesome for this, the simple steps to get that tie-dye effect, and some cool variations to really make your eggs stand out. So, grab your markers, maybe a little rubbing alcohol, and let's get ready to make some Easter magic. Just a heads-up, these eggs are more for show than eating, so let's focus on making them look amazing! Get ready to unleash your inner artist and create some truly egg-cellent masterpieces.
Why Use Sharpies for Decorating Easter Eggs?
Why Use Sharpies for Decorating Easter Eggs?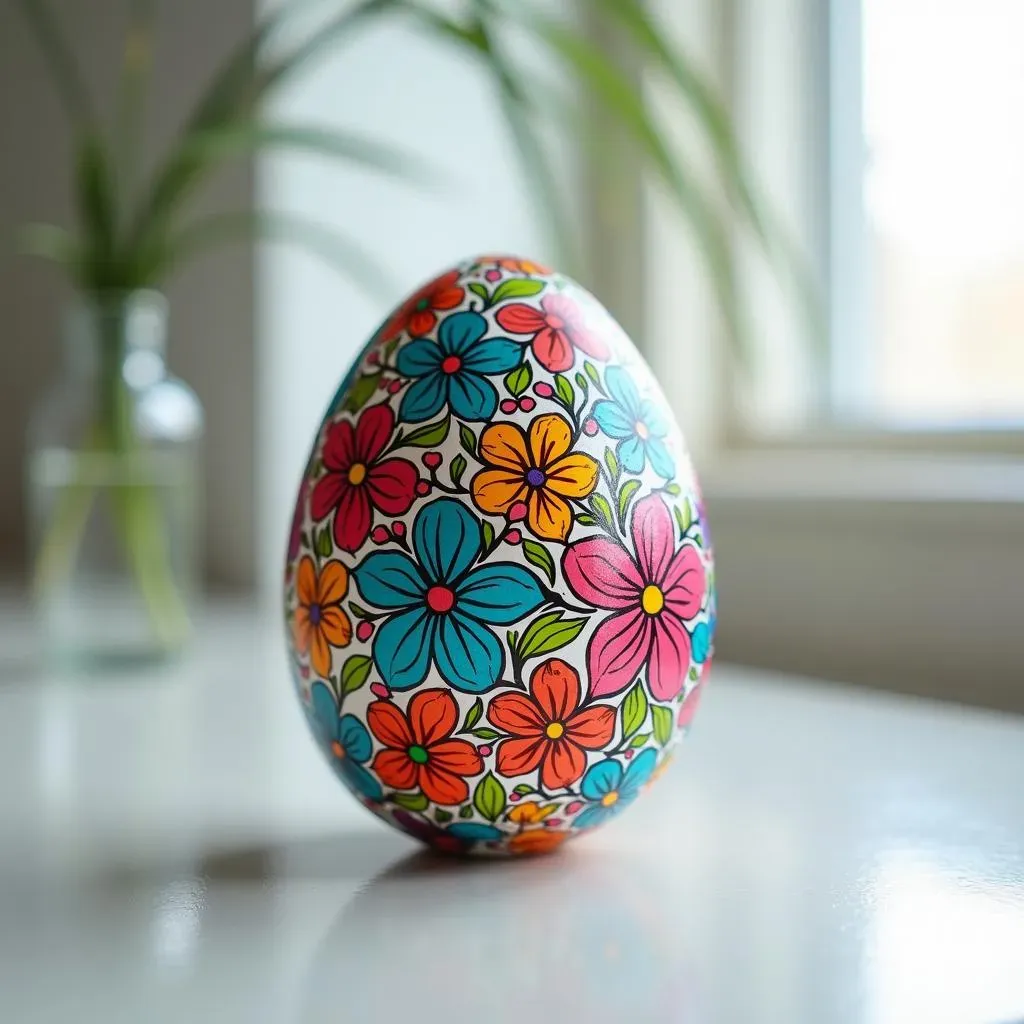
Sharpies: The Unsung Heroes of Easter Egg Art
Okay, let's be real. Traditional egg dyes can be a bit of a mess, right? They stain everything, the colors can be unpredictable, and sometimes, you just end up with a bunch of pastel blobs. Sharpies, on the other hand, offer a whole new level of control and vibrancy. You can draw intricate designs, create bold lines, and layer colors without the fear of everything turning into a murky mess. Plus, they dry super fast, which is a game-changer when you're working with impatient little artists (or, let's be honest, impatient adults).
Sharpies allow for a level of detail that dyes just can’t match. Think about it: you can draw polka dots, stripes, zigzags, or even tiny little faces on your eggs with ease. And the colors? They’re intense and pop like no other. Forget about those wishy-washy pastels; with sharpies, you get rich, saturated hues that make your eggs look like tiny works of art. It’s like going from coloring with crayons to using professional art markers. It's a total upgrade, I'm telling you.
Sharpie vs. Traditional Dyes: A Quick Comparison
Feature | Sharpies | Traditional Dyes |
|---|---|---|
Color Vibrancy | High | Low to Medium |
Mess Factor | Low | High |
Detail | High | Low |
Drying Time | Fast | Slow |
Ease of Use | Easy | Moderate |
Beyond the Basics: Why Sharpies Rock
The beauty of using sharpies is that they're incredibly versatile. You're not limited to just coloring in shapes. You can use them to create patterns, write messages, or even draw mini portraits of your favorite cartoon characters. And, if you mess up (which, let's be honest, happens), you can often just draw over it or incorporate it into your design. There's a lot of freedom and room for creativity. It's not about being perfect; it's about having fun and making something unique.
Also, let's not forget about the sheer convenience. No more mixing dyes, waiting for them to set, or dealing with messy cups of liquid. Just grab your sharpies and get to work. It’s a low-prep, low-stress way to decorate eggs, which is perfect for busy folks or anyone who wants to avoid a big cleanup. Plus, you probably already have a bunch of sharpies lying around, so it's a budget-friendly option too! It's a win-win all around.
"The best thing about using Sharpies is that you're not limited to just coloring. You can draw, write, and create designs that are impossible with traditional dyes." - A Fellow Egg Decorator
How to TieDye Easter Eggs with Sharpies
How to TieDye Easter Eggs with Sharpies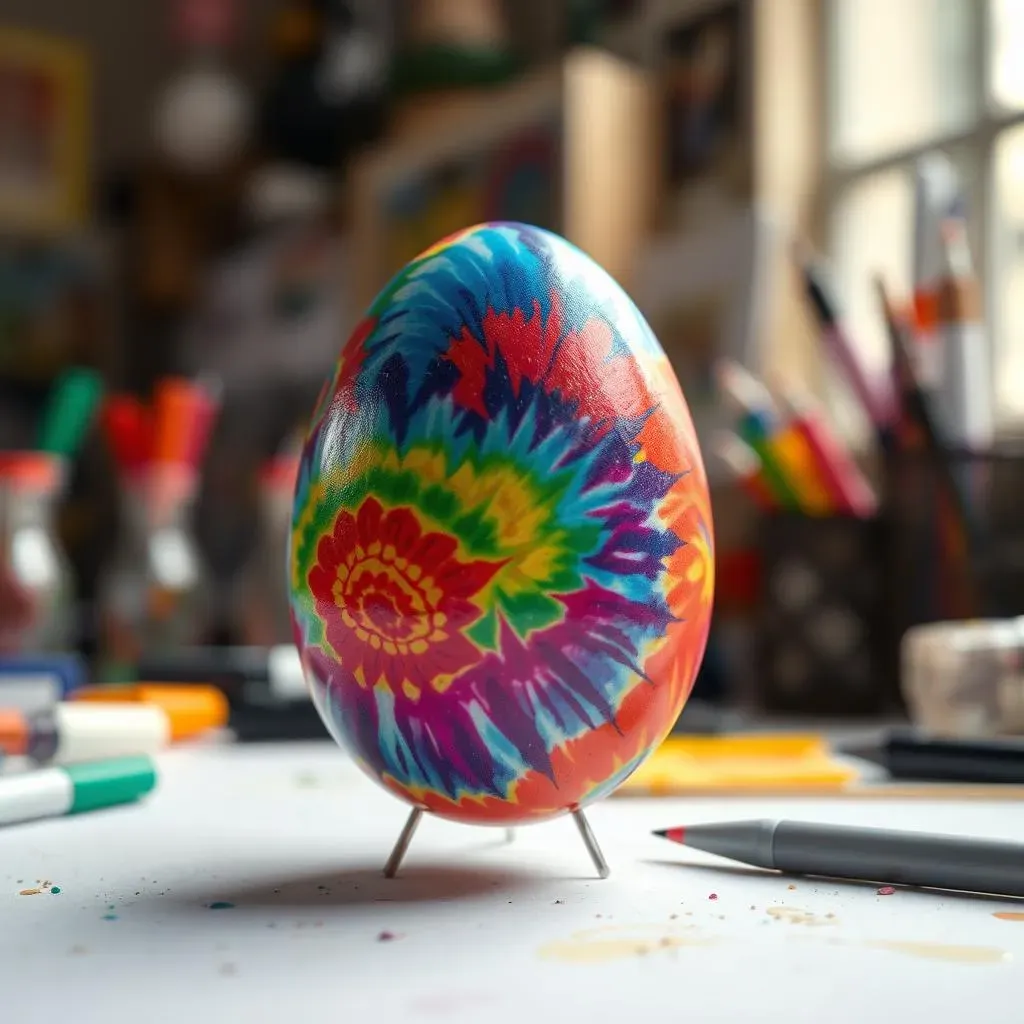
Getting Started: The Tie-Dye Technique
Alright, so you're ready to make some tie-dye magic? First things first, you'll need some hard-boiled eggs. Or, if you're feeling extra crafty, you can blow out the insides of raw eggs – it’s a bit more work, but it lets you keep your creations for longer. Once you have your eggs prepped, grab your sharpies and go wild! Color the egg with whatever patterns or designs you like. The more color you use, the more vibrant the tie-dye effect will be. Remember, the sharpie ink will be the base of your tie-dye, so don’t be shy with those colors. Just scribble, draw, or make whatever you’re feeling, there’s no right or wrong way.
Now for the fun part: the tie-dye! Grab a cotton swab or a small dropper and get some rubbing alcohol. Carefully drip the rubbing alcohol onto the colored egg. You’ll see the sharpie ink start to spread and swirl, creating that awesome tie-dye look. Don’t overdo it with the alcohol, a little goes a long way. You can rotate the egg as you drip the alcohol to get the colors moving in different directions. It’s like watching a mini science experiment right in your hand! Once the colors have swirled to your liking, let the egg dry. The alcohol evaporates quickly, leaving behind your unique tie-dye egg.
Supply | Purpose |
|---|---|
Hard-boiled or blown-out eggs | The canvas for your art |
Sharpie markers | To add color and designs |
Rubbing alcohol | To create the tie-dye effect |
Cotton swabs or droppers | To apply the rubbing alcohol |
Layering Colors and Creating Depth
Want to take your tie-dye eggs to the next level? Try layering different colors. Let one color dry slightly, then add another color on top. When you drip the alcohol, the colors will blend and swirl together, creating even more depth and dimension. You can also use different types of sharpies, like fine-point markers for detail work and broad-tip markers for filling in larger areas. It's like being a painter, but with eggs! The more you experiment, the more unique your eggs will become.
Don't be afraid to try different patterns too. Instead of just scribbling, try making dots, lines, or geometric shapes with your markers. When the alcohol hits these patterns, they’ll spread in interesting ways, creating all sorts of cool effects. And if you don't like how it turned out, no biggie! You can always add more colors or more alcohol to adjust the design. It’s all part of the fun. Remember, there are no mistakes, just happy accidents.
Sharpie Easter Egg Decorating: Tips, Tricks, and Variations
Sharpie Easter Egg Decorating: Tips, Tricks, and Variations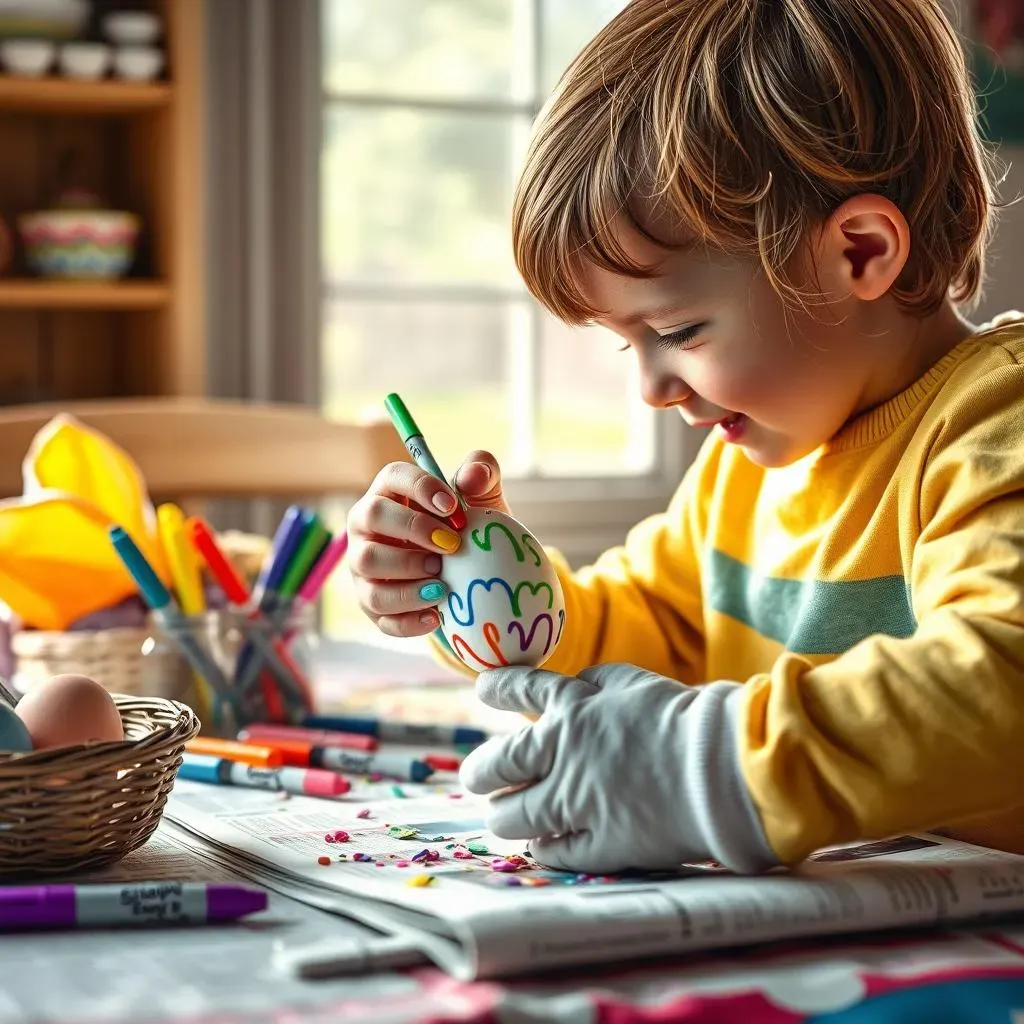
Minimizing Mess and Maximizing Fun
Alright, let's talk about keeping things tidy. Sharpies, while awesome, can be a bit...permanent. So, first things first, cover your work area with some newspaper or an old tablecloth. This will save your table from any accidental marker mishaps. Also, consider using gloves, especially if you're planning on getting really into it. No one wants marker-stained hands for the whole Easter weekend, trust me. When it comes to the rubbing alcohol, using a small dropper or a cotton swab is key. It gives you more control and prevents you from drenching the egg and making a giant, tie-dye puddle. Less is definitely more in this case.
And speaking of fun, don't feel like you have to stick to just one color or one design. Experiment with different marker colors, try making patterns, or even add some glitter glue for extra sparkle. It's all about letting your creativity shine. If you're doing this with kids, embrace the chaos! Let them draw whatever they want, even if it's just scribbles. The goal is to have fun and make some unique eggs, not to create a museum-worthy masterpiece. But hey, if you do, that's just a bonus!
Tip | Benefit |
|---|---|
Cover your workspace | Protects surfaces from marker stains |
Use gloves | Keeps hands clean |
Apply rubbing alcohol sparingly | Prevents over-saturation and messy puddles |
Variations on the Tie-Dye Theme
Okay, so you've mastered the basic tie-dye technique, what's next? Well, how about trying some variations? If you are looking for a more rustic vibe, try using brown eggs instead of white ones. The sharpie colors will look a little different on the brown background, giving your eggs a cool, earthy feel. And if you're feeling extra ambitious, you can even use a white paint marker to add patterns or designs on top of the sharpie tie-dye. The contrast between the white paint and the vibrant colors can be really striking.
Another idea is to use rubber bands to create patterns. Wrap rubber bands around the egg before you color it with sharpies, and then remove them after you've applied the rubbing alcohol. The areas under the rubber bands will remain white, creating cool, tie-dye stripes or geometric designs. Or, if you are not into the tie-dye effect at all, you can just use the sharpies to draw whatever you want. The possibilities are endless! You can draw cartoon characters, flowers, geometric patterns, or even write funny messages. It's all up to you and your imagination.
Alternative Egg Decorating Ideas
If you're looking for even more ways to decorate your Easter eggs, don't feel like you're limited to just sharpies and tie-dye. There are a bunch of other cool options out there. You can try using acrylic paints to create more detailed designs, or you can get crafty with glitter glue, sequins, and other embellishments. And if you want to go totally outside the box, try using LEGO bricks to decorate your eggs. Yep, you heard right! You can use LEGOs to create patterns, or even build tiny little scenes on your eggs. It's a great way to get kids excited about decorating and to add a bit of a playful touch to your Easter creations.
Also, don't forget that you can also use wood eggs instead of real eggs. Wood eggs are great because they're durable and you can keep them for years to come. Plus, they won't break if you accidentally drop them. You can buy them at most craft stores, or you can even make your own if you're feeling extra crafty. However you choose to decorate, just remember to have fun and let your creativity shine. It's all about making something unique and special for Easter.
Wrapping Up Your Sharpie Egg-venture
So, there you have it—a simple, fun, and seriously colorful way to tackle Easter egg decorating. Using sharpies to create tie-dye effects is not only easy enough for kids to get in on, but also allows for some seriously unique designs. From swirling galaxies to bold geometric patterns, the possibilities are as endless as your imagination. While these eggs might not be for eating, they're definitely going to be the stars of your Easter display. So go ahead, grab those sharpies, embrace the mess, and most importantly, have fun creating your own egg-cellent masterpieces! Who knew decorating Easter eggs could be this cool?