Table of Contents
Spring has sprung, and Easter's just around the corner! Are you ready to transform your preschool classroom into a vibrant, festive wonderland? This article is your ultimate guide to creating stunning and engaging preschool Easter door decorations. Forget boring, generic displays – we're diving into a world of creative ideas that are both fun and easy to execute, even with limited time and resources. Whether you're a seasoned crafting pro or a complete beginner, we've got something for everyone. We'll explore a range of creative preschool Easter door decorations, from simple DIY projects that even the littlest helpers can participate in, to more elaborate designs that will wow parents and visitors alike. Get ready to unleash your inner artist and discover how to make your classroom door the most cheerful spot in the school! This guide focuses on providing you with practical tips, step-by-step instructions, and budget-friendly ideas for creating unforgettable preschool Easter door decorations. We’ll cover everything from simple, readily available materials to more unique options, ensuring that you find the perfect fit for your classroom and your style. So, let's hop to it and make this Easter truly special!
Creative Preschool Easter Door Decoration Ideas
Creative Preschool Easter Door Decoration Ideas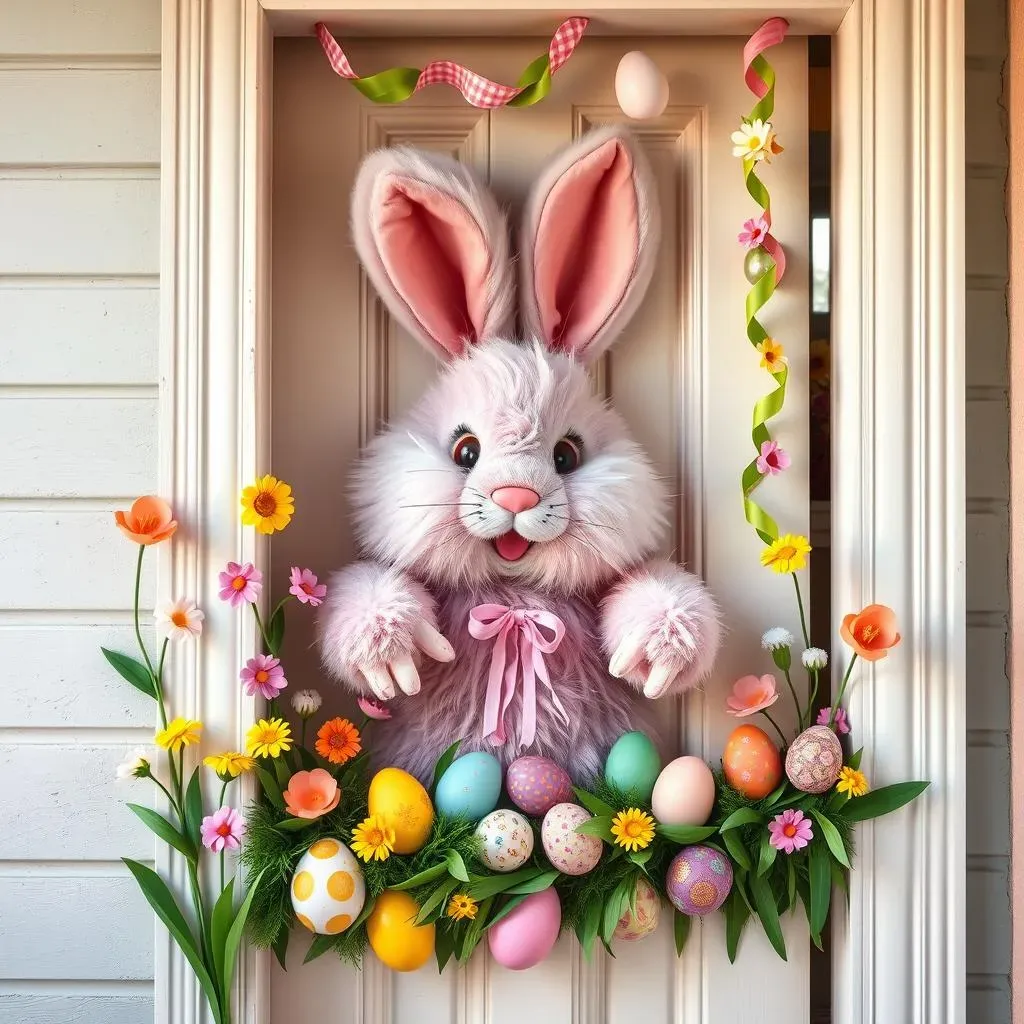
Bunny-licious Fun
Let's start with the classic: bunnies! Think beyond simple cutouts. How about a giant, fluffy bunny peeking around the doorframe, made from white fabric scraps and pom-poms? Or a collaborative mural where each child adds a bunny footprint or a colorful carrot to a springtime meadow scene? You could even create a 3D bunny family hopping across the door, using construction paper, pipe cleaners, and googly eyes. The possibilities are endless! Remember to involve the children – it's their door, after all!
Don't forget the little details! Add some bright, spring-colored flowers made from construction paper or tissue paper. A simple garland of paper eggs or colorful ribbons adds a festive touch. Consider using a pastel color palette to create a calming and inviting atmosphere. And don't be afraid to get messy – finger painting is a fantastic way to add a unique, childlike touch to your creation!
Idea | Materials | Tip |
|---|---|---|
Giant Bunny | Fabric scraps, pom-poms, glue | Use different textures for added interest |
Bunny Footprint Mural | Paint, paper, construction paper | Let the kids paint their own feet! |
3D Bunny Family | Construction paper, pipe cleaners, googly eyes | Use different sizes for a family effect |
Egg-cellent Designs
Moving on from bunnies, let's talk eggs! Forget plain old Easter eggs – think creatively! You could create a stunning egg mosaic using colorful construction paper, or a vibrant egg garland using painted eggshells (make sure they're thoroughly cleaned and dried!). A playful egg hunt scene, complete with hidden eggs and a cute bunny character, is another fantastic option. You can even incorporate math skills by having the children count the eggs and color in the numbers.
Remember that even the simplest ideas can be transformed into something truly special with a little creativity. For instance, a simple egg carton can become a charming springtime scene with a little paint, some colorful paper, and a bit of imagination. Involve the children in the process – let them choose their colors, arrange the elements, and add their own personal touches. This not only makes the project more engaging but also helps to foster a sense of ownership and pride in the final product.
- Egg Mosaic
- Egg Garland
- Egg Hunt Scene
- Egg Carton Springtime Scene
Easy DIY Preschool Easter Door Decorations for Busy Teachers
Easy DIY Preschool Easter Door Decorations for Busy Teachers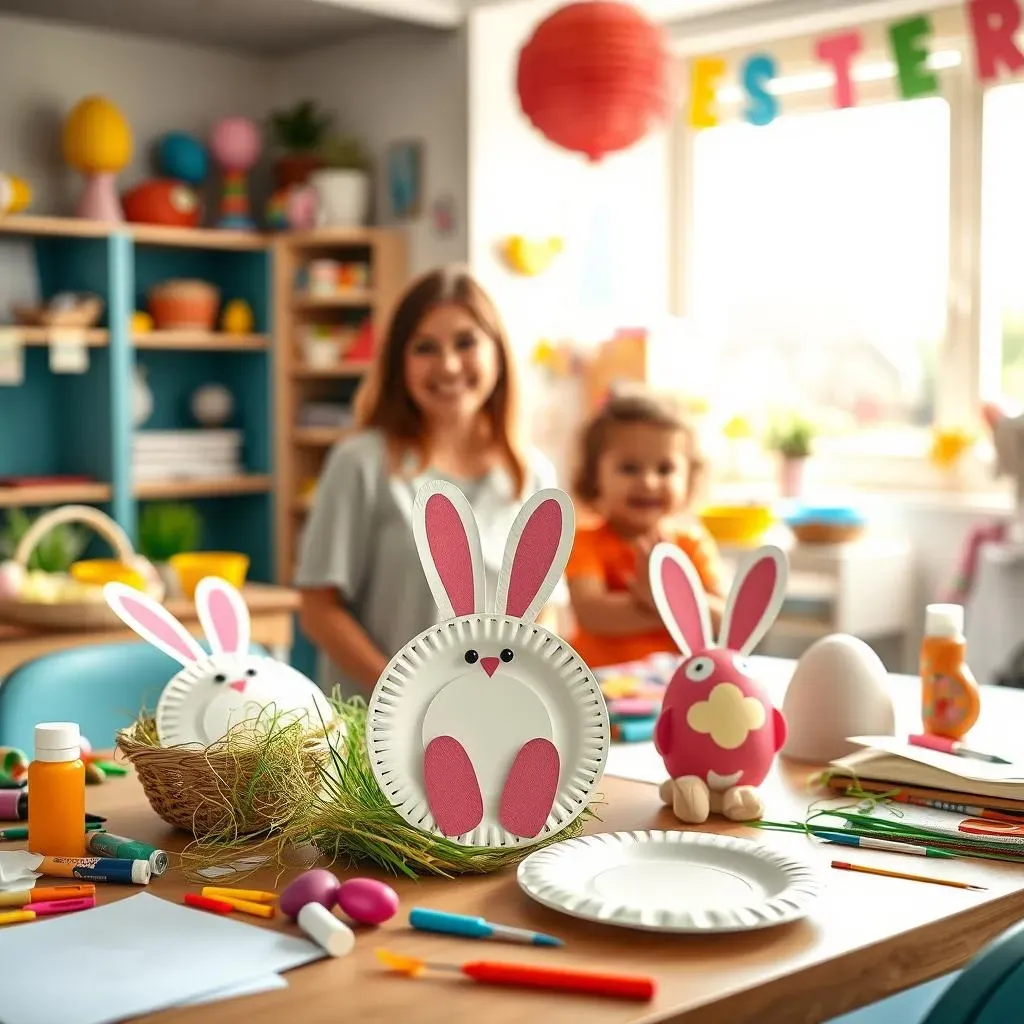
Quick & Easy Paper Plate Crafts
Let's face it, teachers are busy! Who has time for elaborate crafting projects? That's why we love paper plate crafts. They're super fast, require minimal materials, and the results are surprisingly adorable. Think simple bunny faces glued onto paper plates, decorated with cotton balls for tails and construction paper for ears. Or how about transforming paper plates into colorful Easter eggs, decorated with markers, glitter, or even textured paint? These are perfect for quick classroom projects where the kids can help assemble and decorate.
The best part? Paper plates are cheap and readily available. You likely already have a stash in your classroom! These projects also allow for maximum customization. Let the children choose their own colors and designs, fostering creativity and a sense of ownership. Don't underestimate the power of simple, quick crafts – they can be just as impactful as more complex projects, especially when the children are involved in the process.
Craft | Materials | Time Commitment |
|---|---|---|
Paper Plate Bunnies | Paper plates, cotton balls, construction paper, glue | 15-20 minutes |
Paper Plate Eggs | Paper plates, markers, glitter, paint | 20-30 minutes |
Repurposing & Recycling for Easter Decor
Want to be even more efficient? Repurpose materials you already have! Empty egg cartons can be transformed into adorable chicks or flowers with a little paint and creativity. Toilet paper rolls can become cute little bunnies, and leftover fabric scraps can be used to create a simple bunny garland. Not only is this a fantastic way to save money, but it also teaches the children about the importance of recycling and reusing materials.
Think outside the box! Don't be afraid to experiment and combine different materials. For example, you could combine egg cartons, toilet paper rolls, and fabric scraps to create a unique and whimsical Easter display. Remember, the goal is to create something fun and festive, not to create a masterpiece. Embrace imperfections – they add character and charm! And most importantly, have fun with it!
- Egg carton chicks
- Toilet paper roll bunnies
- Fabric scrap garland
- Combined materials display
BudgetFriendly Preschool Easter Door Decorations: Maximize Impact, Minimize Cost
BudgetFriendly Preschool Easter Door Decorations: Maximize Impact, Minimize Cost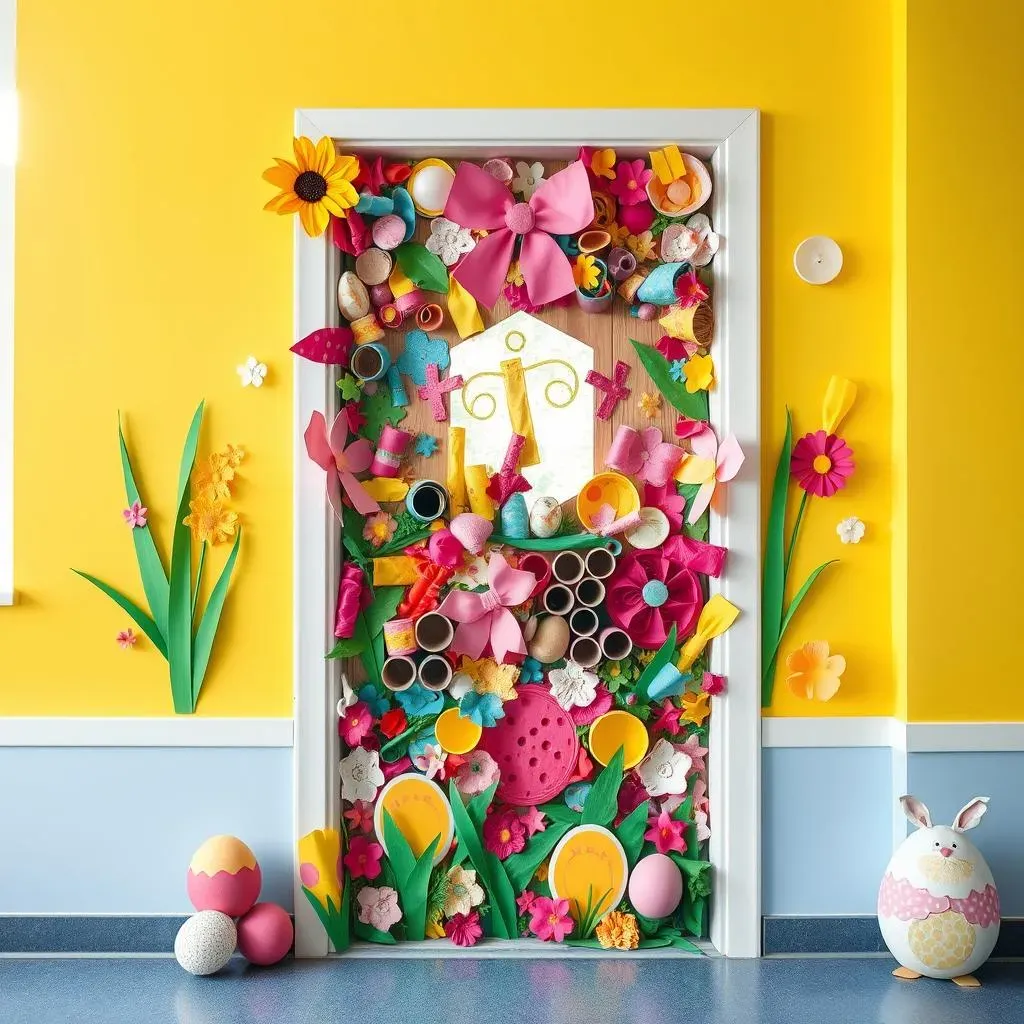
Making the Most of What You Have
Let's talk budget! Creating amazing preschool Easter door decorations doesn't require breaking the bank. In fact, some of the most creative and impactful decorations use readily available, inexpensive materials. Think about what you already have in your classroom: construction paper scraps, leftover ribbon, buttons, bottle caps—the possibilities are endless! Don't be afraid to get creative and repurpose items you might otherwise throw away. For example, those empty egg cartons can become adorable chicks or flowers with a little paint and imagination. Toilet paper rolls can be transformed into charming bunnies, and fabric scraps can be used to create a festive garland. Remember, it's about creativity, not cost!
One of my favorite budget-friendly tricks is to involve the children in the collecting process. Ask them to bring in recyclable materials from home, like bottle caps, cardboard tubes, or even clean egg cartons. This not only saves you money but also teaches them about sustainability and resourcefulness. Plus, it's a great way to get them excited about the project before it even begins! It's amazing what you can create with a little imagination and a willingness to look at everyday objects in a new light.
Material | Possible Use | Tip |
|---|---|---|
Egg Cartons | Chicks, flowers, baskets | Paint them bright colors! |
Toilet Paper Rolls | Bunnies, chicks, flowers | Cut and shape them creatively! |
Fabric Scraps | Garlands, bunnies, decorations | Use different textures and colors! |
Collaborative Creations: The Power of Teamwork
Another fantastic way to save money and maximize impact is to make your preschool Easter door decorations a collaborative project. Involve the children in every step of the process, from brainstorming ideas to collecting materials to creating the final masterpiece. This not only makes the project more engaging and fun but also helps to foster a sense of community and teamwork. Plus, it's a great way to teach the children about collaboration and sharing.
Consider creating a large-scale mural or a collaborative art installation where each child contributes their own unique piece to the overall design. This approach allows for a wide range of artistic styles and expressions, creating a truly unique and memorable decoration. Children can paint, draw, cut, glue, and decorate, adding their own personal touch to the project. The result will be a vibrant and diverse display that reflects the creativity and individuality of your students. Remember to take lots of photos to capture the process and the final product!
- Classroom Mural
- Collaborative Art Installation
- Group-Created Garland
- Combined-Materials Display